Andrew P. Cornell, Robert E. Belford
Chemistry Department, University of Arkansas at Little Rock, Little Rock, Arkansas 72204
Abstract
ChemSpider offers many methods in which to access online data through web API (Application Programming Interface) interactions.1 This tutorial will explain how to write a few simple lines of code in Python that will allow for using the ChemSpider services to convert chemical identifiers from one format to another. The Python programming language was chosen for this tutorial because of its ability to perform the needed task using simple syntax that can be easily explained to those without a programming background.
Upon running the program, the InChI (International Chemical Identifier) will be returned from the ChemSpider web request after being processed, however this tutorial also shows at the end how to adjust and process other chemical identifiers. A major difference between this method and Part 1 (Retrieving InChI From PubChem) of this tutorial series is that a token must be supplied to the web service before it will complete the request.
Learning Objectives
- Import Python Library
- Attach a User Token for Data Access
- Create and Define Functions
- Make API Request with Python
- Display Results
Recommended Reading
- Internet of Chemistry Things Activity 1 (Page that explains basic Instructions for setting up Python on a computer. The Python Activities listed in the sidebar may also help to explain some of the background information.)
- Spring ChemInformatics OLCC Course (This site provides lots of information on working with chemical data.)
- Python Documentation (Python 3 documentation that correlates to the version used within this tutorial.)
- ChemSpider API Documentation (Provides instructions on syntax structure, methods and request procedures for accessing data.)
- ChemSpiPy Python Module (Module that helps to simplify code required to interact with the API’s of ChemSpider using Python.)
Methods
The file used in this tutorial can be located within the following GitHub Page along with a doi on FigShare.2 Python will run on many different operating systems, however this tutorial will use the Thonny IDE (Integrated Development Environment) to design, run and test the code.3
Python 3 has been used for all code in this tutorial so make sure to consult the correct version documentation if additional reference is needed. Should the syntax or format change with future updates to the Python Language, it may be necessary to approach the task in a different way. The steps are broken down into sections which should be placed into the file one after the other from top to bottom.
Step 1
Starting at the beginning of the Python file is where the import declarations should be placed that will pull additional modules to expand the program capabilities. This should go before all other code in the program. This tutorial will use a module called ChemSpiPy that will significantly reduce the amount of code needed to make the API request.4 Wherever Python is being run from, the module should be installed on the system and be accessible in the environment being used. The recommended reading can help with getting all requirements installed. There are a few specific parameters that must be followed in order to use the ChemSpiPy Python Module regarding how to name variables so that the modules know where to grab user input from. All necessary parameters will be explained in the additional steps below.
##ChemSpiPy is an excellent Python module developed to help make web requests
##to ChemSpider smooth and easy

from chemspipy import ChemSpider
Step 2
After the module import declarations, the program will be ready to assign the first variable. The following line of code will take an input value from the user and assign it under the name “token” as a variable. Tokens must be requested from ChemSpider to use the API services. You can receive this by signing up for an account and going to your profile settings to retrieve your unique token.
##This token input is required to use the chemspider API.

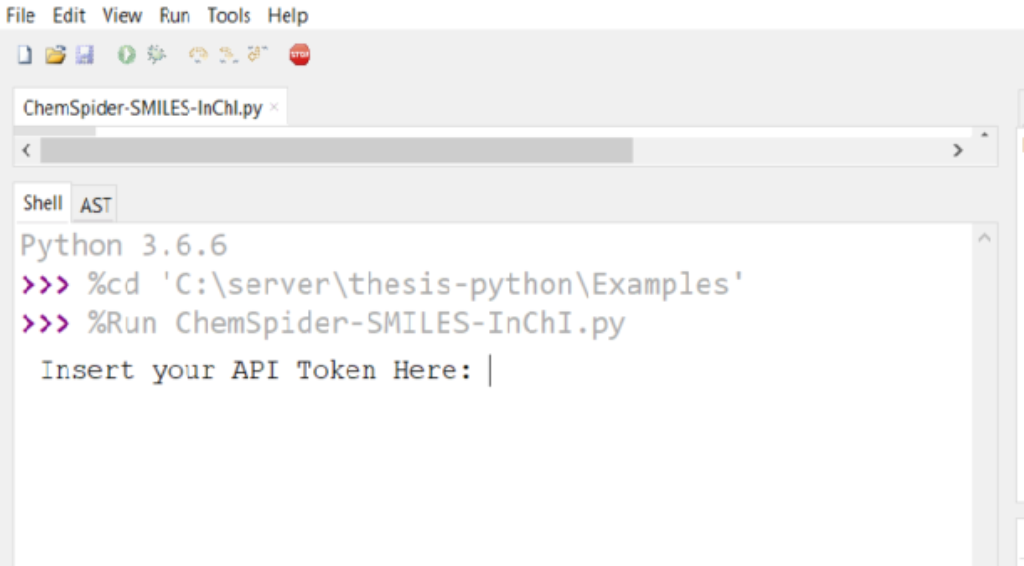
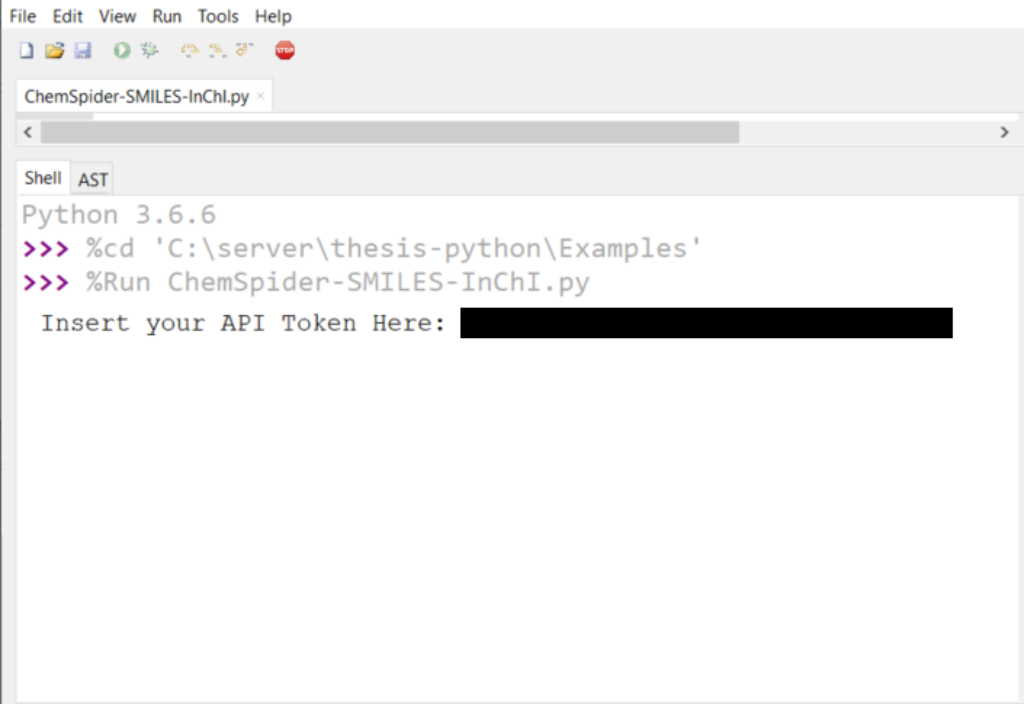
token = input('Insert your API Token Here: ')
Step 3
The next variable is written to satisfy what the ChemSpiPy module will look for when sending the API request. This variable will take the previous user input and assign it to one that is called “cs”. Of course, you could do this in one step by changing the variable name directly in step 1 to “cs”, however this seems to help explain what the program is doing.
##assigns cs to use chemspipy format of the input token along with ChemSpider
##in the actual request. This format must use cs and ChemSpider based on the
##module being imported.

cs = ChemSpider(token)
Step 4
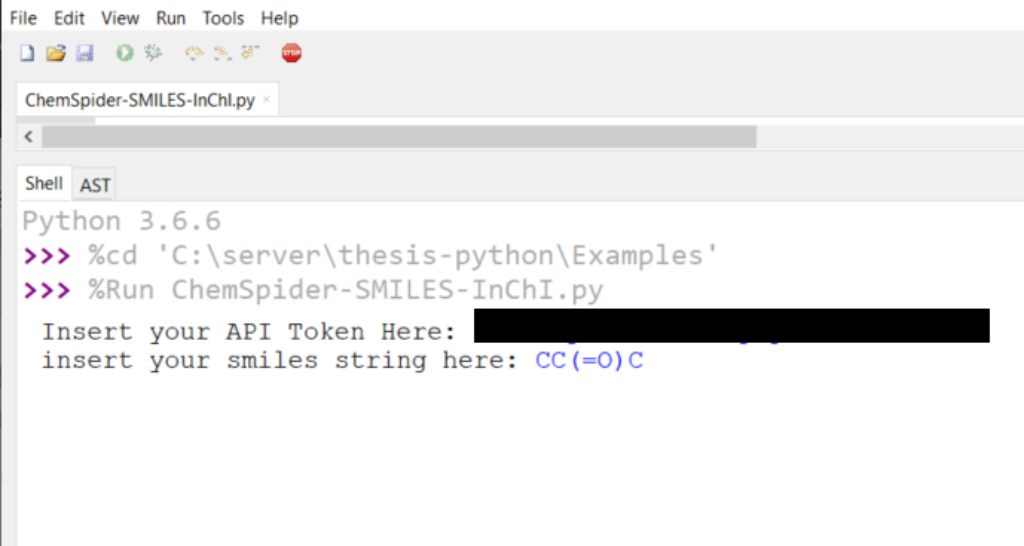
The last variable assignment will take another user input field and store it as the variable “smiles”. The user must insert a valid SMILE (Simplified Molecular-Input Line-Entry System) string for the program to work correctly. There is an example string included as a comment in the box below.
##This takes the input string. Insert the entire string including the InChI=1S
##portion.

smiles = input("insert your smiles string here: ")

#acetone = CC(=O)C
Step 5
This particular line of code is not necessary for the program to work; however, it does provide a nice touch with formatting the output.
##Most of the formatting here is for aesthetics purposes of how the results
##are displayed in the shell.

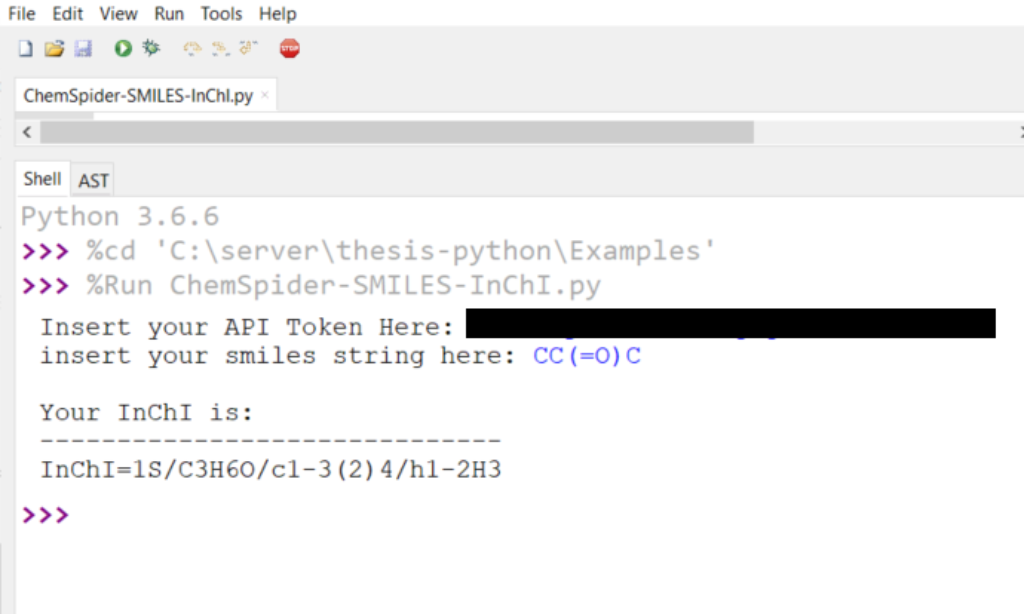
print("\n" + "Your InChI is:\n" + 30*'-' + 10*" ")
Step 6
Bringing everything together, this last step will make the actual request. The first line of code will combine the user supplied values along with the chosen identifiers and format them into a URL (Uniform Resource Locator) request based on specific formatting set by ChemSpider. The “cs.convert” will submit the values in parenthesis along with other parameters specific to the python files for the ChemSpiPy module and print out a return.
##The conversion takes place here in which the cs.convert takes the 3 values
##in parenthesis as parameters and submits them to the ChemSpider web service
#which returns a SMILES string.

for result in cs.convert(smiles, 'SMILES', 'InChI'):
   print(result, end = '')
Completed Code Example
from chemspipy import ChemSpider

token = input('Insert your API Token Here: ')

cs = ChemSpider(token)

smiles = input("insert your smiles string here: ")

print("\n" + "Your InChI is:\n" + 30*'-' + 10*" ")

for result in cs.convert(smiles, 'SMILES', 'InChI'):
   print(result, end = '')
NOTES ON USING THE PROGRAM
This program can easily be adapted to convert other identifiers by making a few simple changes. The example shown below will take the InChI and convert back to a SMILE string.
##Change this in Step 4.

inchi = input("insert your inchi here: ")
##Change this in step 5.

print("\n" + "Your SMILE STRING IS:\n" + 30*'-' + 10*" ")
##Change this in step 6.

for result in cs.convert(inchi, 'InChI', 'SMILES'):
   print(result, end = '')
Program Demonstration


References
| (1) | ChemSpider; Royal Society of Chemistry: Raleigh, NC, 2007. |
| (2) | Cornell, A. Cheminformatics-Python. Figshare 2018. https://doi.org/10.6084/m9.figshare.7255901. |
| (3) | Annamaa, A. Introducing Thonny, a Python IDE for Learning Programming. In Proceedings of the 15th Koli Calling Conference on Computing Education Research – Koli Calling ’15; ACM Press: Koli, Finland, 2015; pp 117–121. https://doi.org/10.1145/2828959.2828969. |
| (4) | Matt Swain. ChemSpiPy; 2018. |
| Information | |
|---|---|
| Content Type | OER |
| Download Publication Files | https://www.inchi-trust.org/wp/wp-content/uploads/2020/01/Python-Programming-2-InChI-ChemSpider-1.pdf |
| DOI | https://doi.org/10.6084/m9.figshare.7255901 |
| License | Open Access |
| Content Status | publish |
| Date Published | October 4, 2019 |
| Content Tags | |

